How to Make Clarified Butter
This post may contain affiliate links. Please read the disclosure policy.

Clarified butter is a versatile cooking fat that adds mouthwatering flavor whether you’re sautéing, frying or baking dishes. Learn how to clarify butter easily and store it for use in everyday recipes!
You can use clarified butter for steak, pork chops, shrimp or just to drizzle over popcorn. It has a higher smoke point than regular butter to more easily withstand browning or burning.
Clarified butter is keto and also an excellent dairy substitute if you’re lactose intolerant or paleo, since the milk solids are removed.
There are also health benefits including vitamin content, improved digestion and reduced inflammation.
WHAT IS CLARIFIED BUTTER?
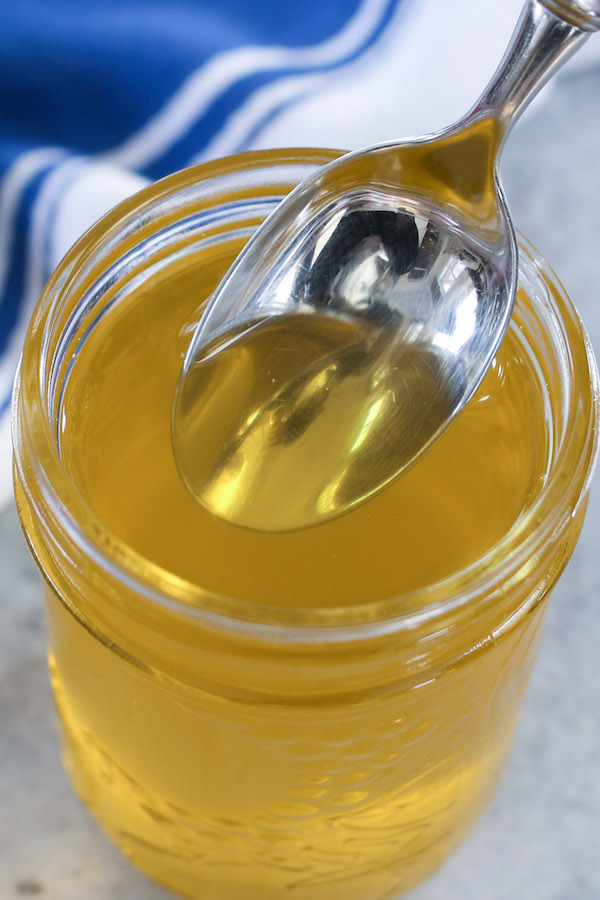
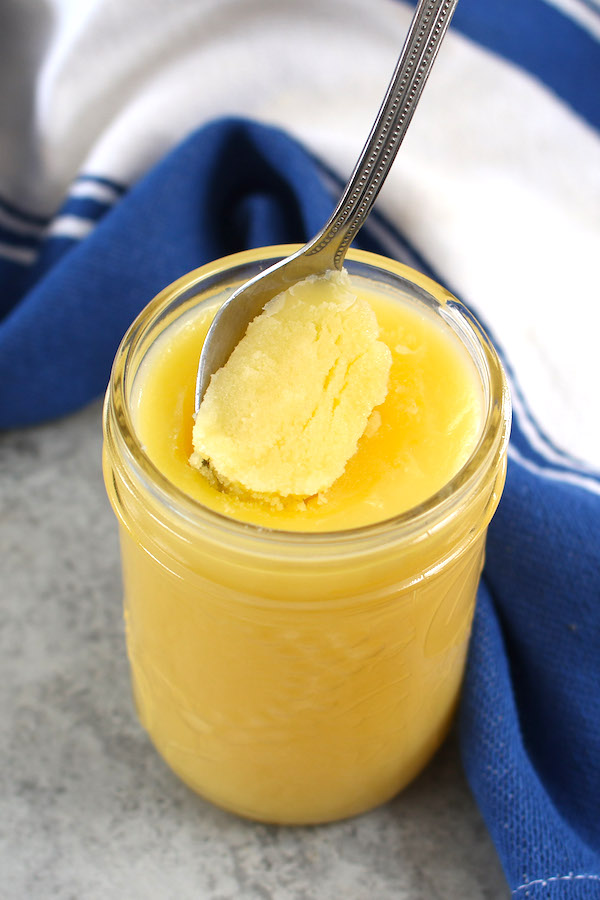
Clarified butter is regular butter that has been simmered to allow its water content to evaporate and its milk solids to separate out. The pure leftover butterfat is called liquid gold for its deep golden color and delicious flavor.
Clarified butter and ghee are closely related. The main difference is that ghee is boiled longer, causing the milk solids to caramelize on the bottom of the pan and imparting a nutty flavor that’s popular especially in Indian and Middle Eastern cuisines.
HOW TO MAKE CLARIFIED BUTTER
The easiest way to clarify butter is on a stovetop because you can control the boiling process.
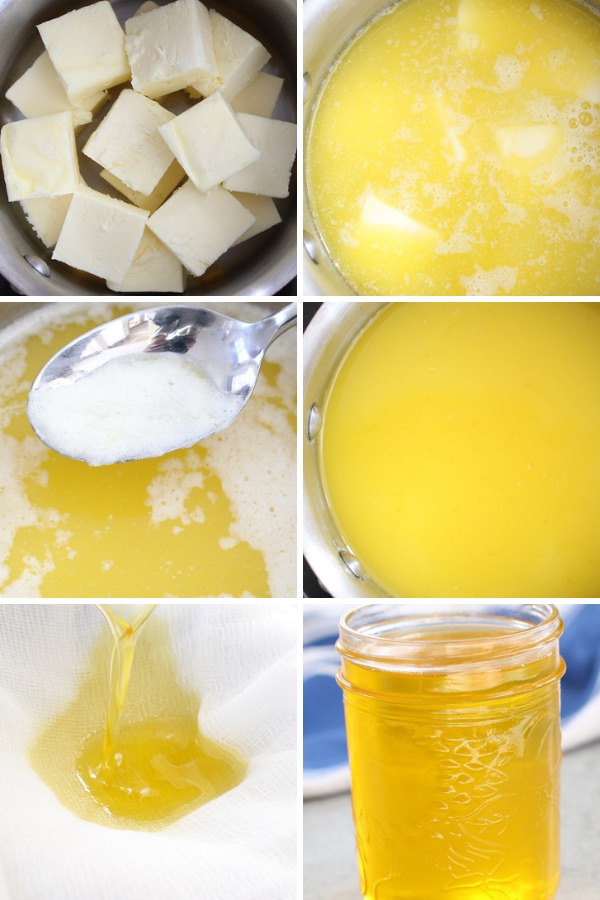
Put solid butter into a saucepan and allow it to melt on low-medium heat. It will soon start to boil, allowing water in the butter to evaporate while the milk solids sink to the bottom. The exact boiling time depends on the butter’s water content, which can vary between brands and batches.
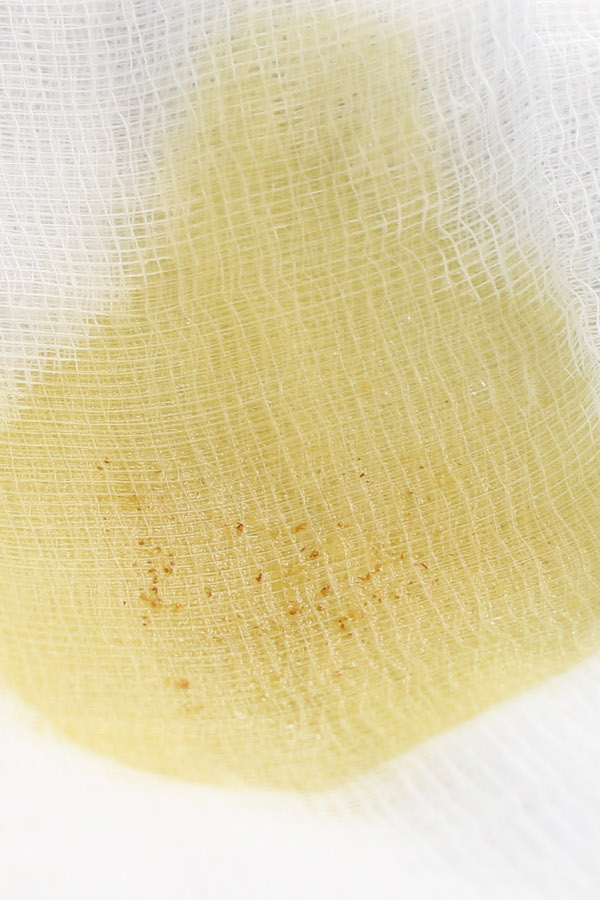
Milky froth accumulates on the surface during boiling and needs to be removed off with a skimmer or spoon. When the process is complete, you pour the clear liquid away from any milky residues to create clarified butter. A cheesecloth is helpful to catch any leftover milk solids.
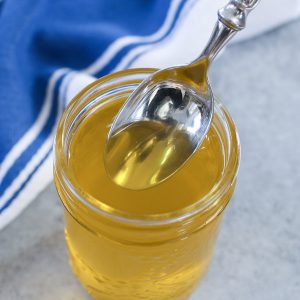
Here’s what the process looks like:
HOW TO CLARIFY BUTTER IN THE MICROWAVE
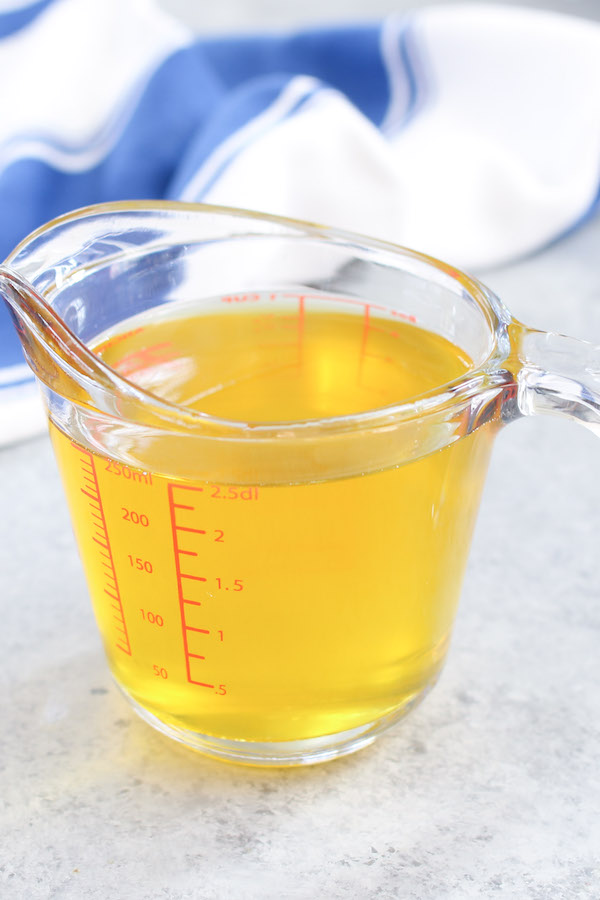
You can also clarify butter in the microwave, although more trial and error is involved. Put the butter into a microwaveable measuring cup or bowl, and microwave on low power for 7-10 minutes. Every minute or so, you’ll need to pause the microwave to skim milky froth off the surface of the butter.
When the process is complete, pour the liquid off the same way as on the stovetop to remove leftover solids:
TIPS FOR CLARIFYING BUTTER
- Unsalted butter is less likely to burn during boiling, although you can still use salted butter if you prefer.
- It’s normal to sometimes hear sputtering sounds during boiling, indicating that the water is evaporating out through the fat.
- Store clarified butter in an airtight container in the fridge for up to 3 months, or in the freezer for up to 6 months. The shelf life is similar to that of regular butter.
- Use the milky residue leftover from clarification for added flavor in pancakes or baked goods. You can also discard it.
How to Make Clarified Butter
Ingredients
- 1 lb unsalted butter, see note
Instructions
- Cut the butter into pieces and add to a small saucepan.
- Place the saucepan over low-medium heat, allowing the butter to melt completely and start bubbling.
- Reduce heat to the lowest setting.
- A milky froth will start appearing on the surface. Use a skimmer or spoon to keep removing it until no more appears (up to 10-15 minutes).
- Meanwhile place a sieve over a medium measuring cup or bowl and line with several layers of cheesecloth (optional).
- Remove saucepan from heat and slowly pour the clear liquid into the cheesecloth or sieve, taking care not to pour in any milky residue from the bottom.
- Use as directed in your recipe or transfer to a mason jar for storage.
Notes
- Unsalted butter is less likely to burn during boiling, although you can still use salted butter if you prefer.
- It's normal to sometimes hear sputtering sounds during boiling, indicating that the water is evaporating out through the fat.
- Store clarified butter in an airtight container in the fridge for up to 3 months, or in the freezer for up to 6 months. The shelf life is similar to that of regular butter.
- Use the milky residue leftover from clarification for added flavor in pancakes or baked goods. You can also discard it.
Please read our nutrition disclaimer.
EQUIPMENT FOR CLARIFYING BUTTER
- Small saucepan
- Fine-mesh skimmer
- Medium sieve
- Cheesecloth (optional)
- Mason jar (optional for storage)
© TIPBUZZ. Images and text on this website are copyright protected. Please do not post or republish without permission. If you want to republish this recipe, please link back to this post. This post may contain affiliate links. Read the disclosure policy here.


Barbara: I’ve always wanted to make clarified butter, after reading your steps I think it will be so easy. Thanks!
Clarified butter has so many great uses! Love your step by step guide!
Thanks, it’s easier to make than many people think!
I have being making clarifyied butter for years now and love it. This is perfect instructions and trusted recipe!
Hi Brandi, Thanks and glad to hear this recipe measures up 🙂