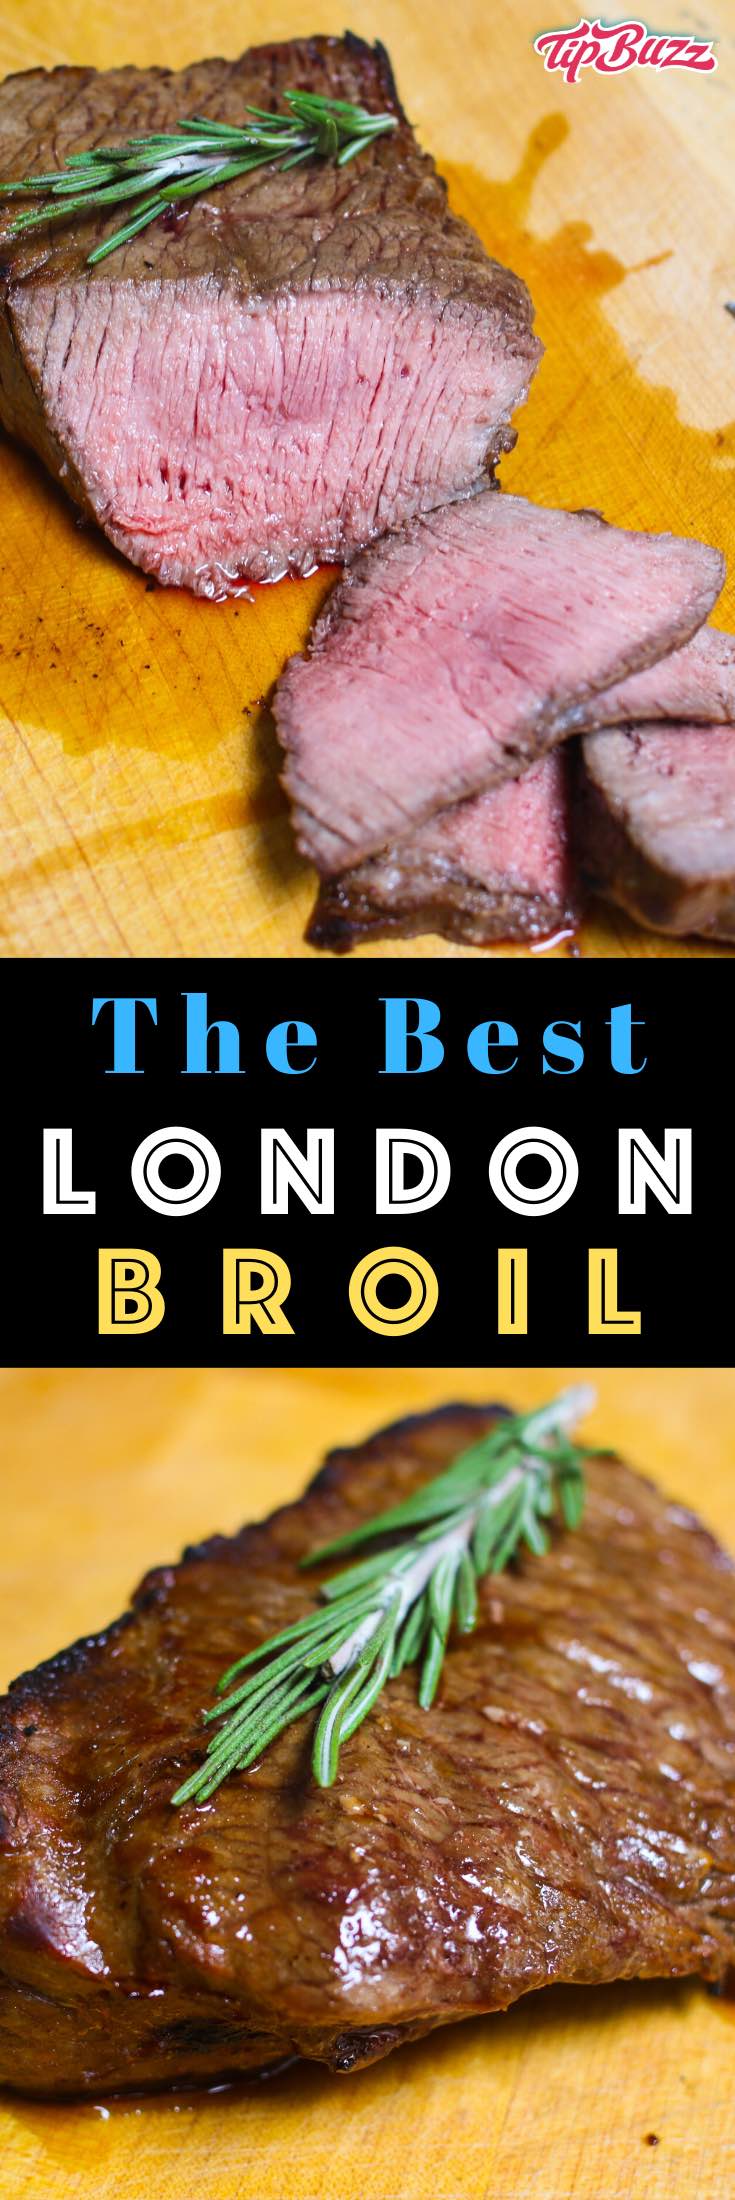
Best Ever London Broil Recipe
This post may contain affiliate links. Please read the disclosure policy.
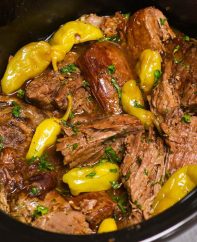
London Broil is a flavorful dinner that’s easy to make! It consists of top round or flank steak that’s marinated for at least 6 hours before being broiled to perfection in the oven. It’s great for a weeknight dinner or feeding a crowd on a budget!
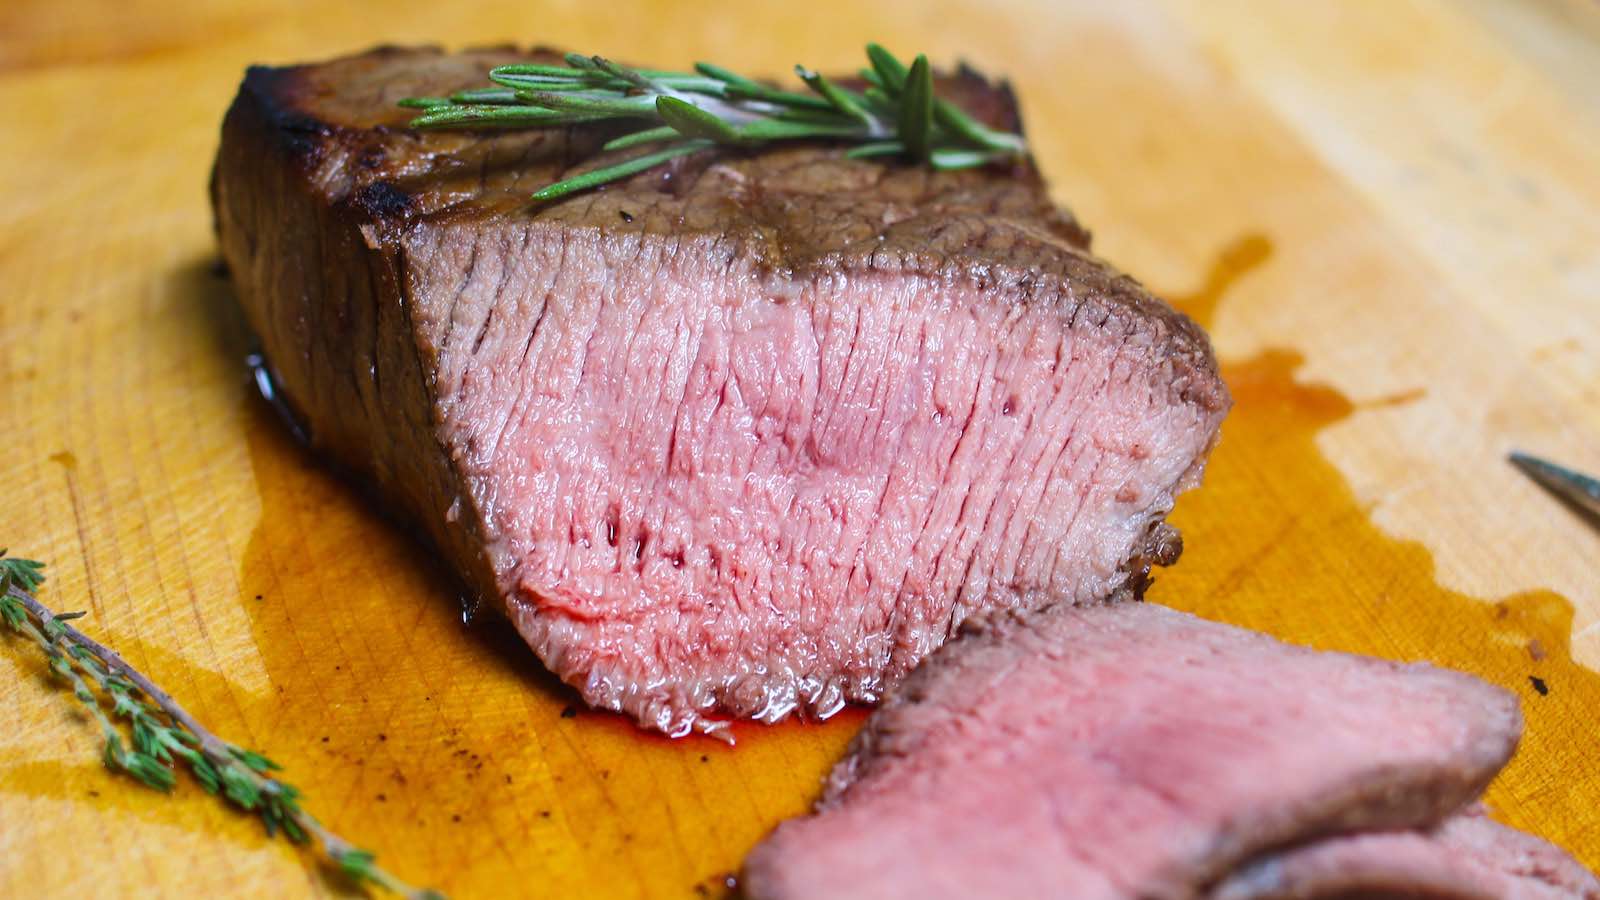
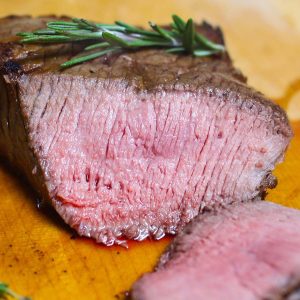
When properly cooked and seasoned, a London broil transforms a cheap and tough piece of steak into a mouth-watering tender, juicy and flavorful gourmet meal.
What cut of meat is used for London broil?
Rather than being a cut of meat, London Broil is a dish that’s made by marinating a lean and tough cut of steak and broiling under high heat. In spite of the British-sounding name, it’s actually an American dish!
The traditional London Broil recipe calls for flank steak, but top round is more commonly used today. Sirloin steak can also be used. If you will see a cut labeled “London Broil” at the grocery store, it’s usually either a top round roast or top round steak.
Easy London broil marinade
While top round is flavorful and affordable, it’s also rather tough. Therefore, it needs extended marinating to break down fibers in the meat. The secret to a perfect London broil is a great marinade, plus allowing enough time for the meat to marinate and become tender!
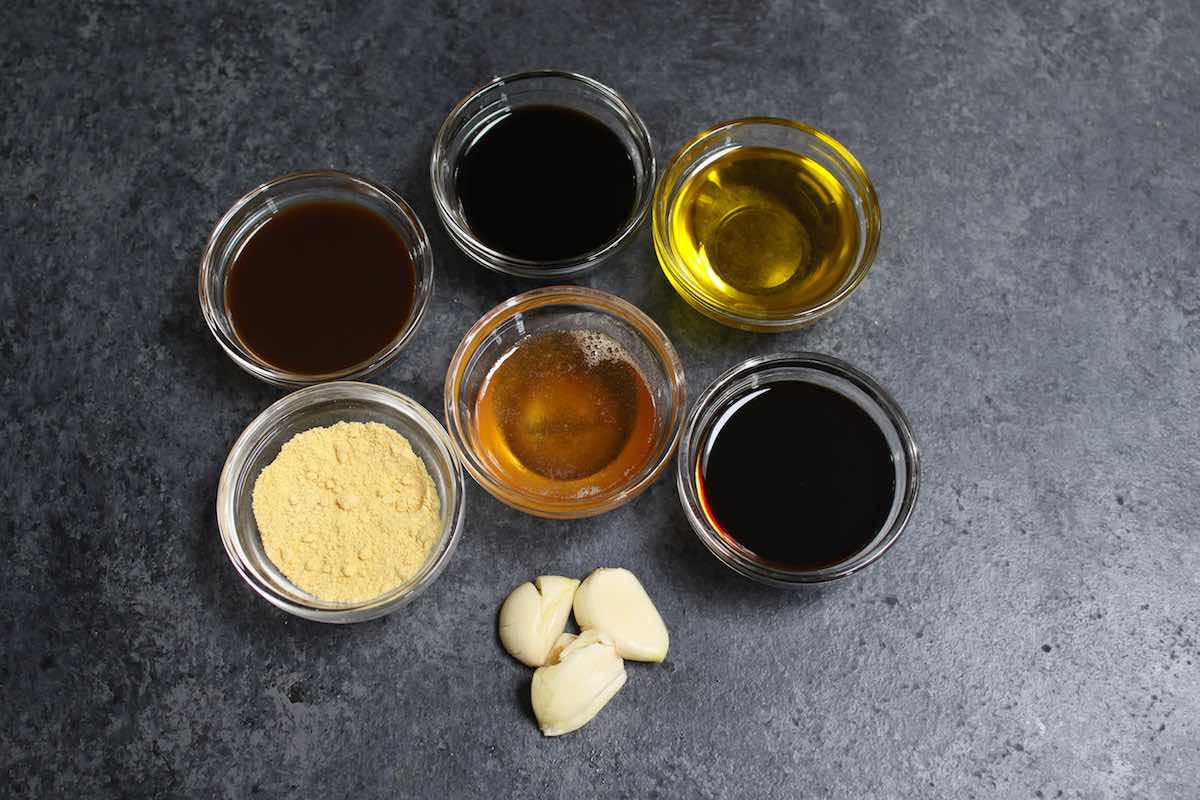
After trying different marinades, here is my favorite marinade as it’s savory, tangy and slightly sweet, without overpowering the natural beefy flavor:
- Soy sauce: it acts as a “brine” to tenderize the meat along with adding flavor.
- Balsamic vinegar: provides acidity to break down tough fibers in the meat.
- Garlic: always use freshly crushed or minced garlic for the best flavor.
- Olive oil: also helps to tenderize the meat as well as adding flavor.
- Honey: it helps to balance out the acidity of the vinegar while helping to create a caramelized crust when broiling. You can substitute sugar if you prefer.
- Worcestershire sauce and mustard: flavor enhancers
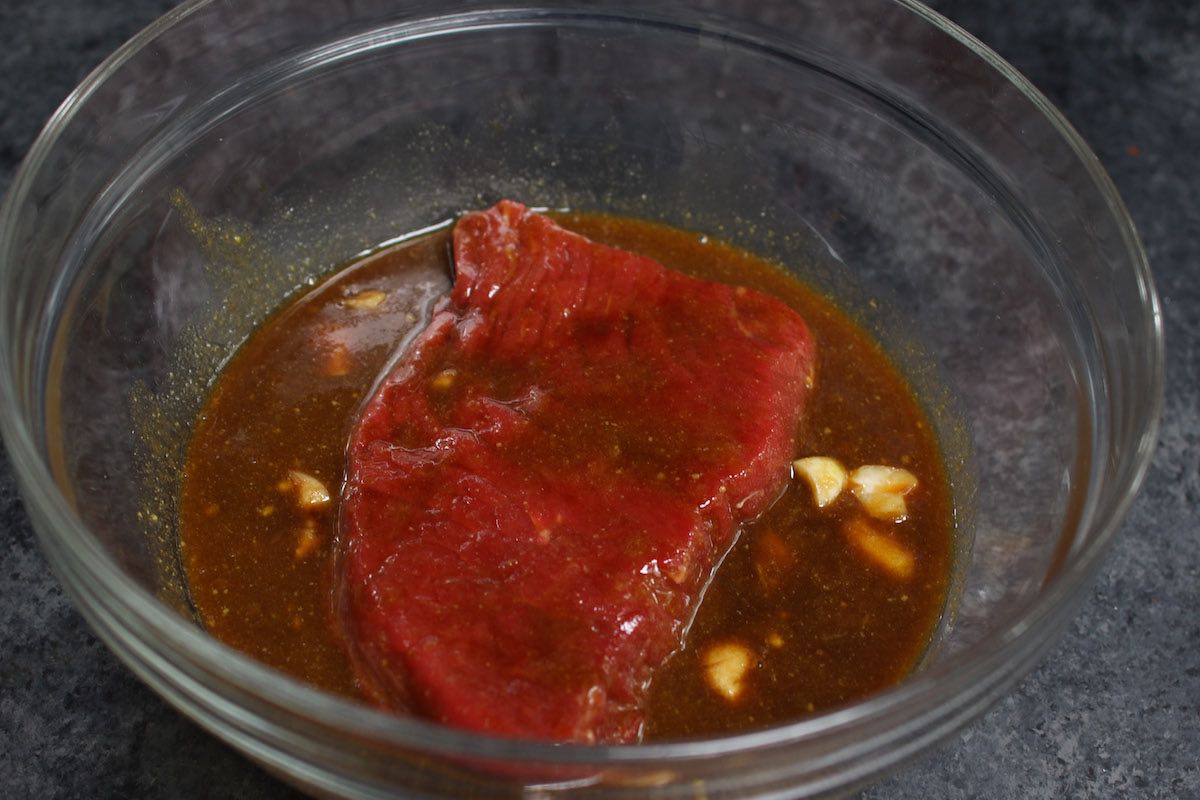
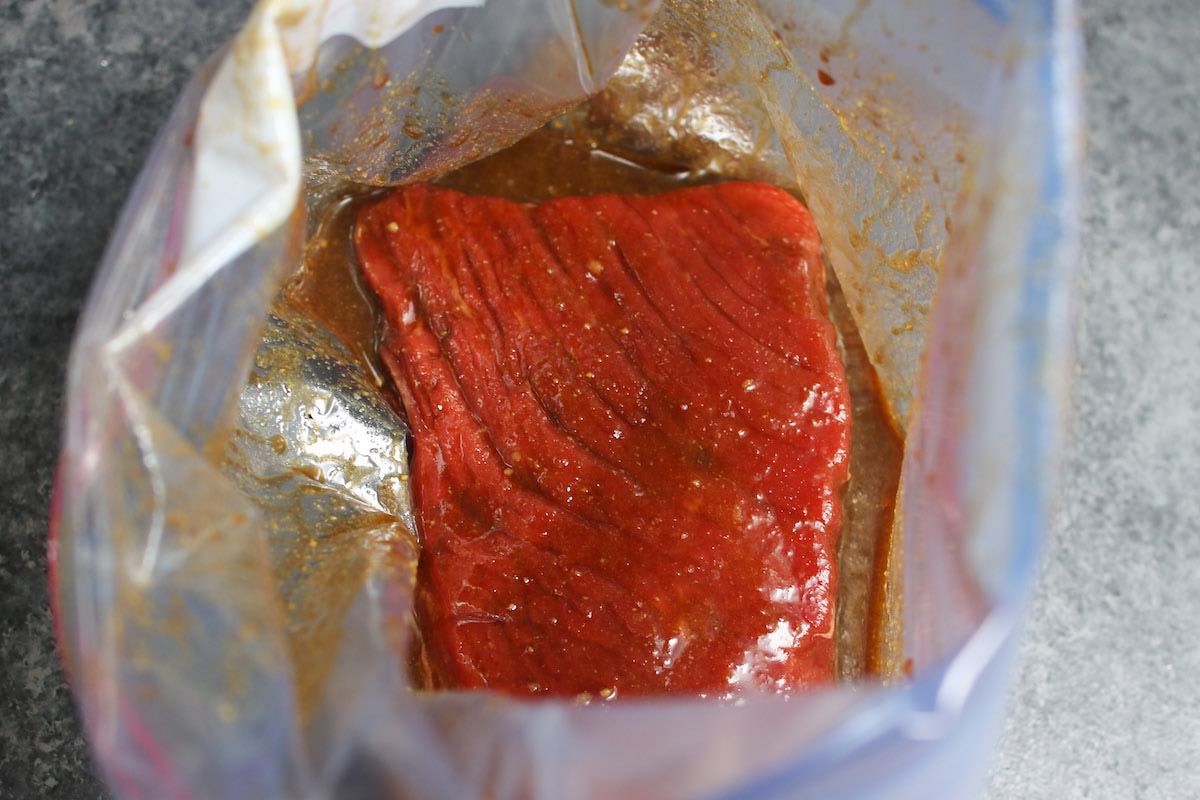
It’s best to marinate for at least 6 hours and no more than 12 hours, either in a bowl or in a ziptop bag.
How to cook a perfect London broil
Unlike ribeye or porterhouse steak, you need to plan ahead and allow enough marinating time. I usually spend less than 5 minutes to whisk together the marinade ingredients in a mixing bowl. Then add the beef, cover and let it rest in the fridge.
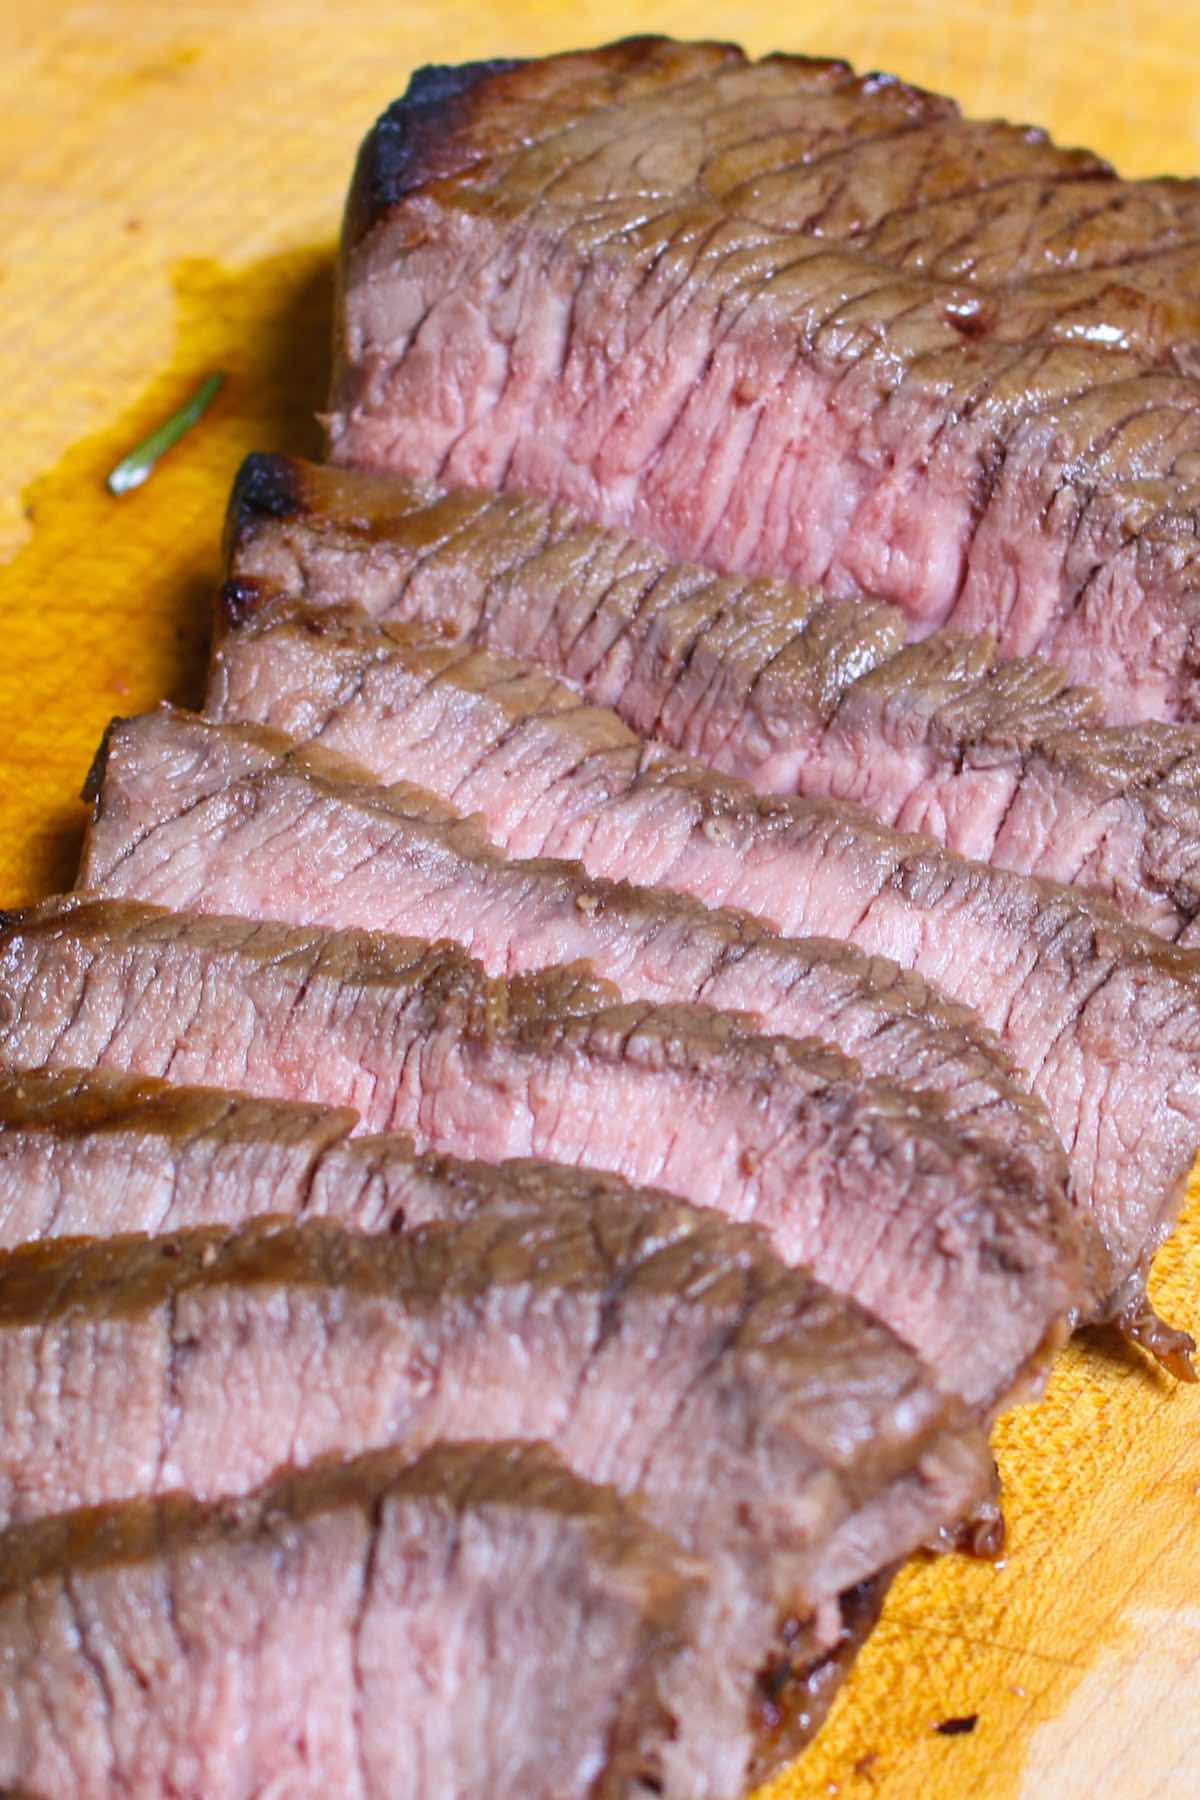
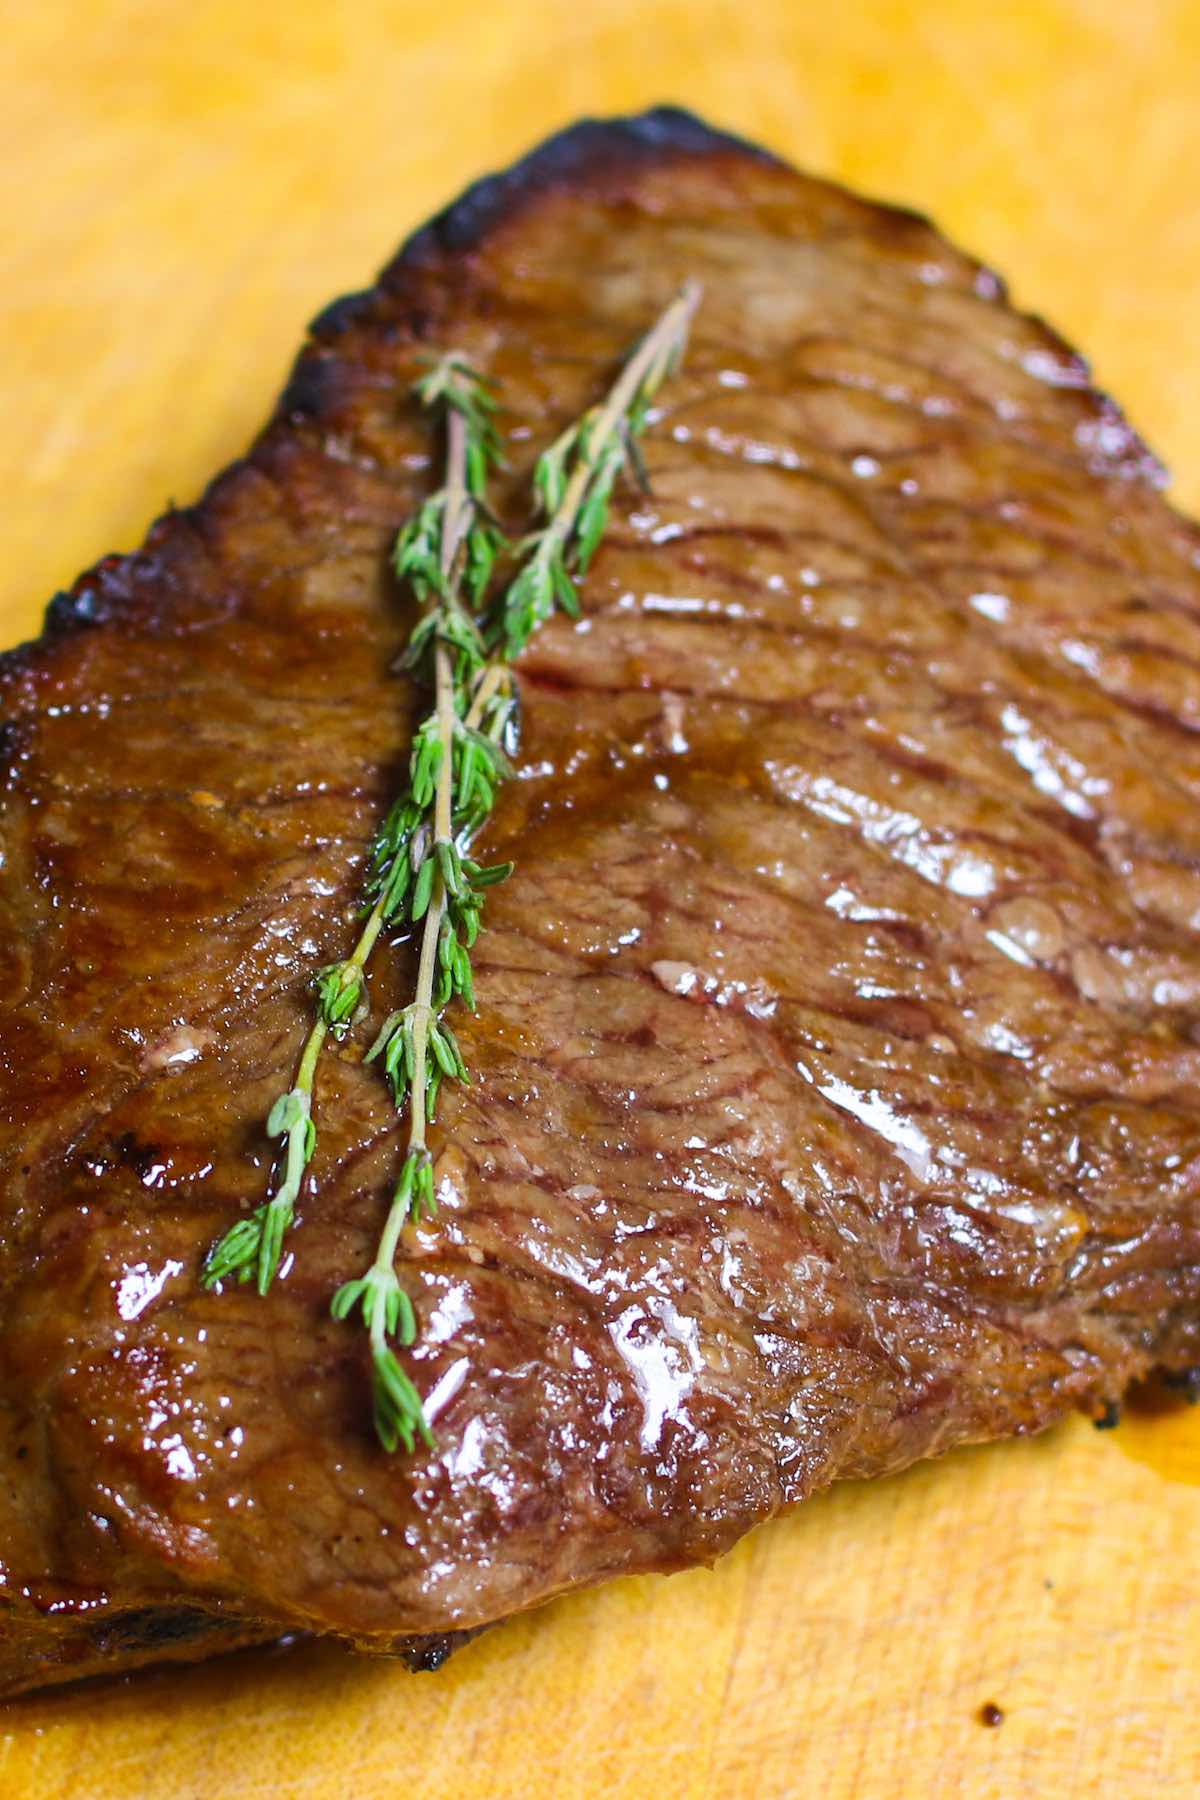
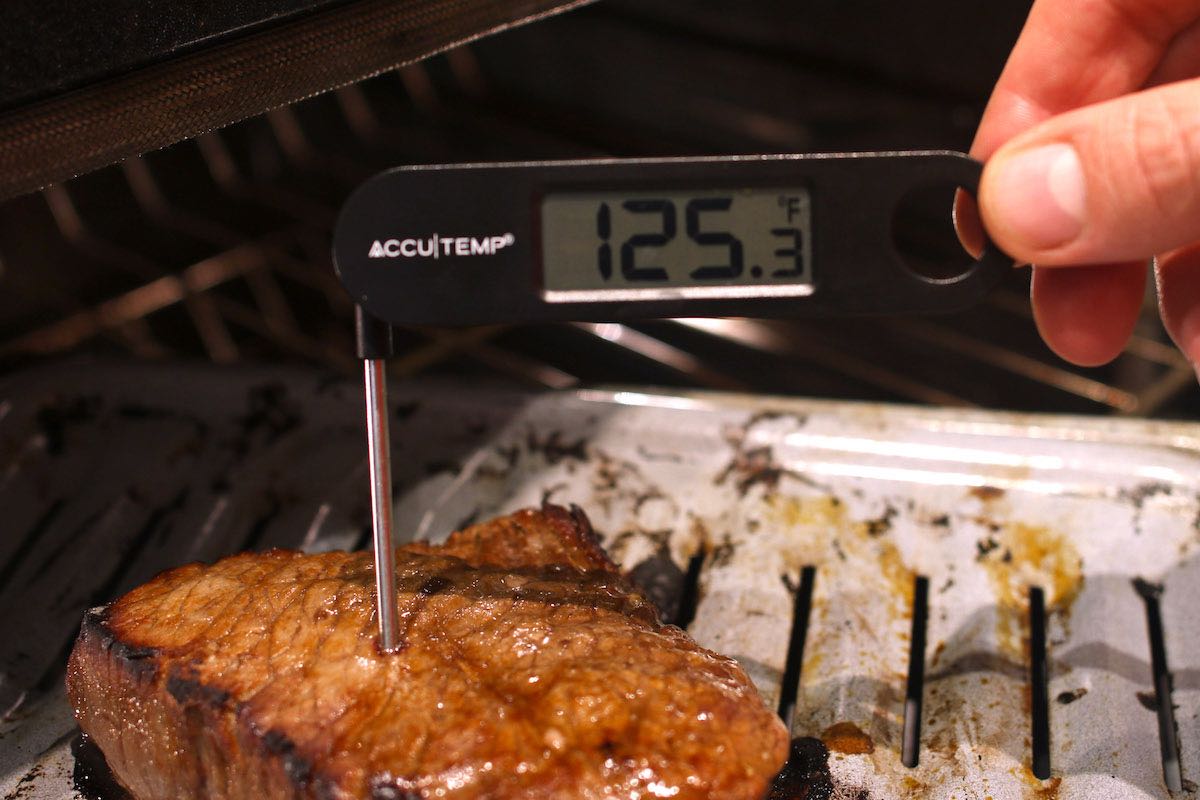
When I come home in the evening, I take the beef out and preheat the broiler. I recommend wiping off liquid and scraping off excess marinade first. Broil for 5-7 minutes per side for a 1 ½-inch thick cut. I like my steak medium-rare, so broil it to an internal temp of 125°F. Never cook it beyond medium, as it will become tough and chewy.
I always cover the broiled steak with aluminum foil and let it rest for 5-10 minutes before cutting to allow the juices to redistribute. Slice crosswise against the grain to serve.
Tips for cooking London Broil
- Select a thicker cut (1-1.5 inches) whenever possible, as it’ll be less likely to dry out.
- Remove from the fridge 30 minutes before cooking so it gets closer to room temperature for even cooking.
- Broil 3-4 inches from the broiler to get a good sear and lock in the juices.
- For a more caramelized crust, you can sear your broiled steak on a hot skillet or grill for 1 minute per side.
- Always slice thinly against the grain to cut through any fibers left after cooking for the most tender meat.
How to serve London Broil
- London Broil is delicious served with garlic butter or herb butter.
- Side dishes include potatoes and a green vegetable such as broccoli.
More budget-friendly beef recipes:
View all Steak Recipes
London Broil Recipe
Ingredients
- 2 pounds top round steak, or flank steak, 1-1.5 inches thick
- 3 tablespoons soy sauce
- 3 tablespoons balsamic vinegar
- 2 tablespoons Worcestershire sauce
- ¼ cup olive oil, refined olive oil
- 3 garlic cloves, smashed
- 2 teaspoons mustard, or mustard powder, optional
- 2 teaspoons honey, optional
Instructions
- Place the steak on a work surface and pierce all over both sides with a fork. (This will help the marinade to penetrate and tenderize the meat.)
- In a medium bowl, add the soy sauce, balsamic vinegar, Worcestershire sauce, olive oil, garlic as well as the optional mustard and honey. Whisk until thoroughly combined.
- Add the steak to the bowl and coat with the marinade.
- Cover and refrigerate for 6-12 hours*.
- Remove from the fridge 30 minutes before cooking to let the steak get to room temperature for even cooking.
- Set aside a broiler pan. Position the oven rack to be 5-6 inches below the heating element and turn on the broiler.
- Remove the steak from the bowl and scrape off excess marinade, which could burn under the broiler.
- Pat dry the steak on all sides with paper towels to remove remaining moisture that could interfere with searing.
- Rub the steak with a teaspoon or so of olive oil. Place on the prepared pan and put in the oven.
- Broil for 5-7 minutes depending on thickness of the steak and strength of your broiler. Using kitchen tongs, flip the meat and broil for 5-7 minutes more.
- Check doneness by inserting an instant-read thermometer into the middle of the steak. When it reads 120-125°F (49-52°C), remove steak from the oven.**
- Place steak on a carving board or plate and cover with foil or a plate. Let it rest for 5 minutes so the juices can redistribute through the meat.
- To serve, slice thinly crosswise against the grain using a serrated knife***.
Notes
- *Marinating for less than 6 hours will sacrifice some tenderness and flavor, while going for longer than 12 hours and the meat will start becoming mushy.
- ** The meat will temperature will rise another 5°F (3°C) while resting to reach medium-rare. Cooking longer risks tough meat!
- *** This is important for cutting through any remaining fibers which make the meat chewier.
Please read our nutrition disclaimer.
View all low carb recipes
Recipe Tools:
© TIPBUZZ. Images and text on this website are copyright protected. Please do not post or republish without permission. If you want to republish this recipe, please link back to this post. This post may contain affiliate links. Read the disclosure policy here.